September 25, 2026
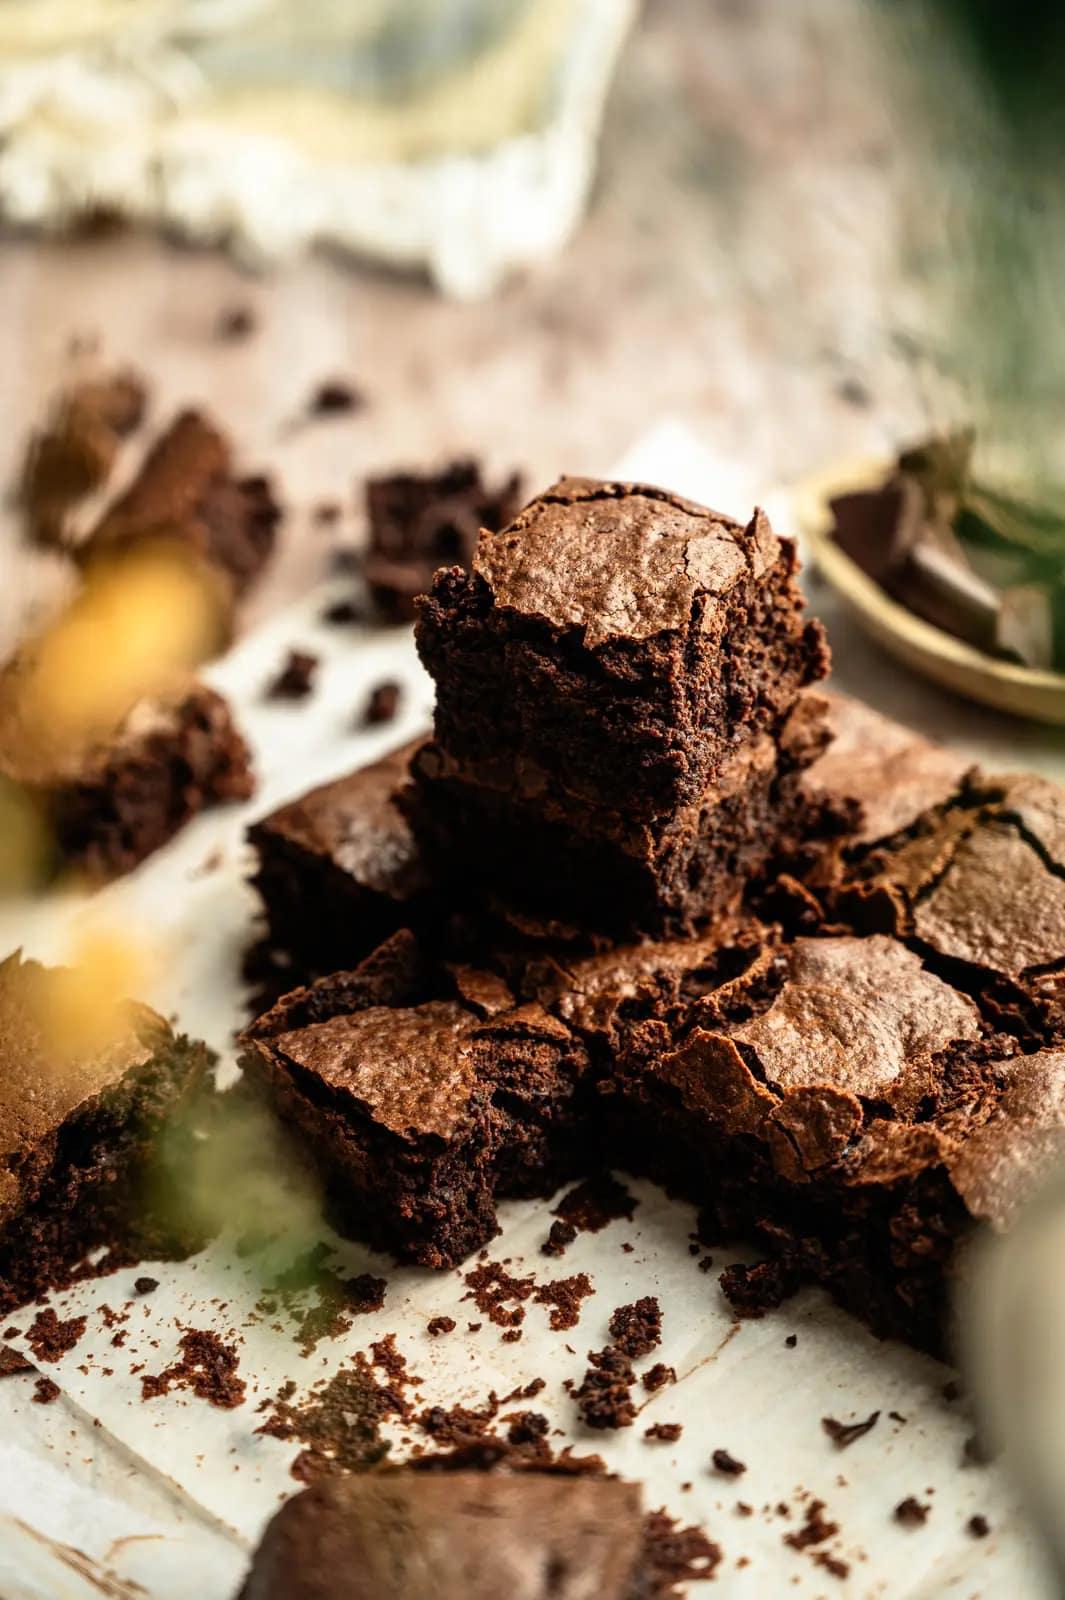
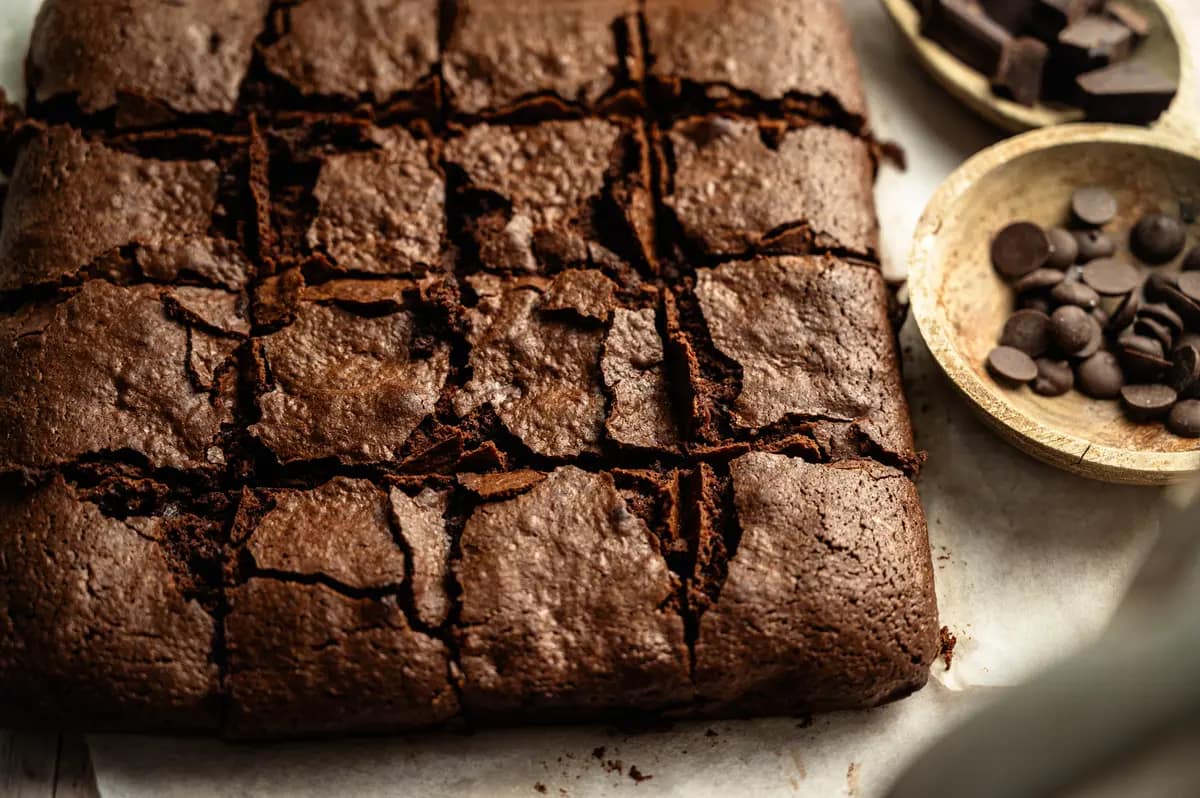
Rich, fudgy, and perfectly chewy, these brownies are made with plenty of chocolate in every bite. Inspired by the brownies my mom made when I was growing up, they have a soft chocolate center, slightly chewy edges, and that thin crackly top I love.
Fudgy Chewy Brownies with Rich Chocolate Centers and Crackly Tops
My mom made the best brownies when I was growing up, and I can still remember waiting for them to come out of the oven. I always wanted a warm piece straight from the middle of the pan. Forget the corner piece. Give me that soft, fudgy center while it’s still a little warm and I’m happy. It’s funny how something as simple as a pan of brownies can take you right back to your mom’s kitchen.
Brownies are also one of the easiest desserts to bring when everyone’s getting together. Cut them into squares, pile them onto a plate, and pass them around the table. There’s nothing fussy about them, which is probably part of why I’ve always loved them. And if we were really lucky at a family gathering, we’d have them with a scoop of my uncle’s famous homemade ice cream, made the old-fashioned way with the hand crank and all. Now that was dessert.
Maybe that’s why brownies have always had a place in my kitchen. They remind me of growing up, of family gatherings, and of a dessert that never had to be anything fancy for everyone to enjoy it. This is my version of the brownies I’ve always loved, and one I know I’ll make again and again.
Why You’ll Love These
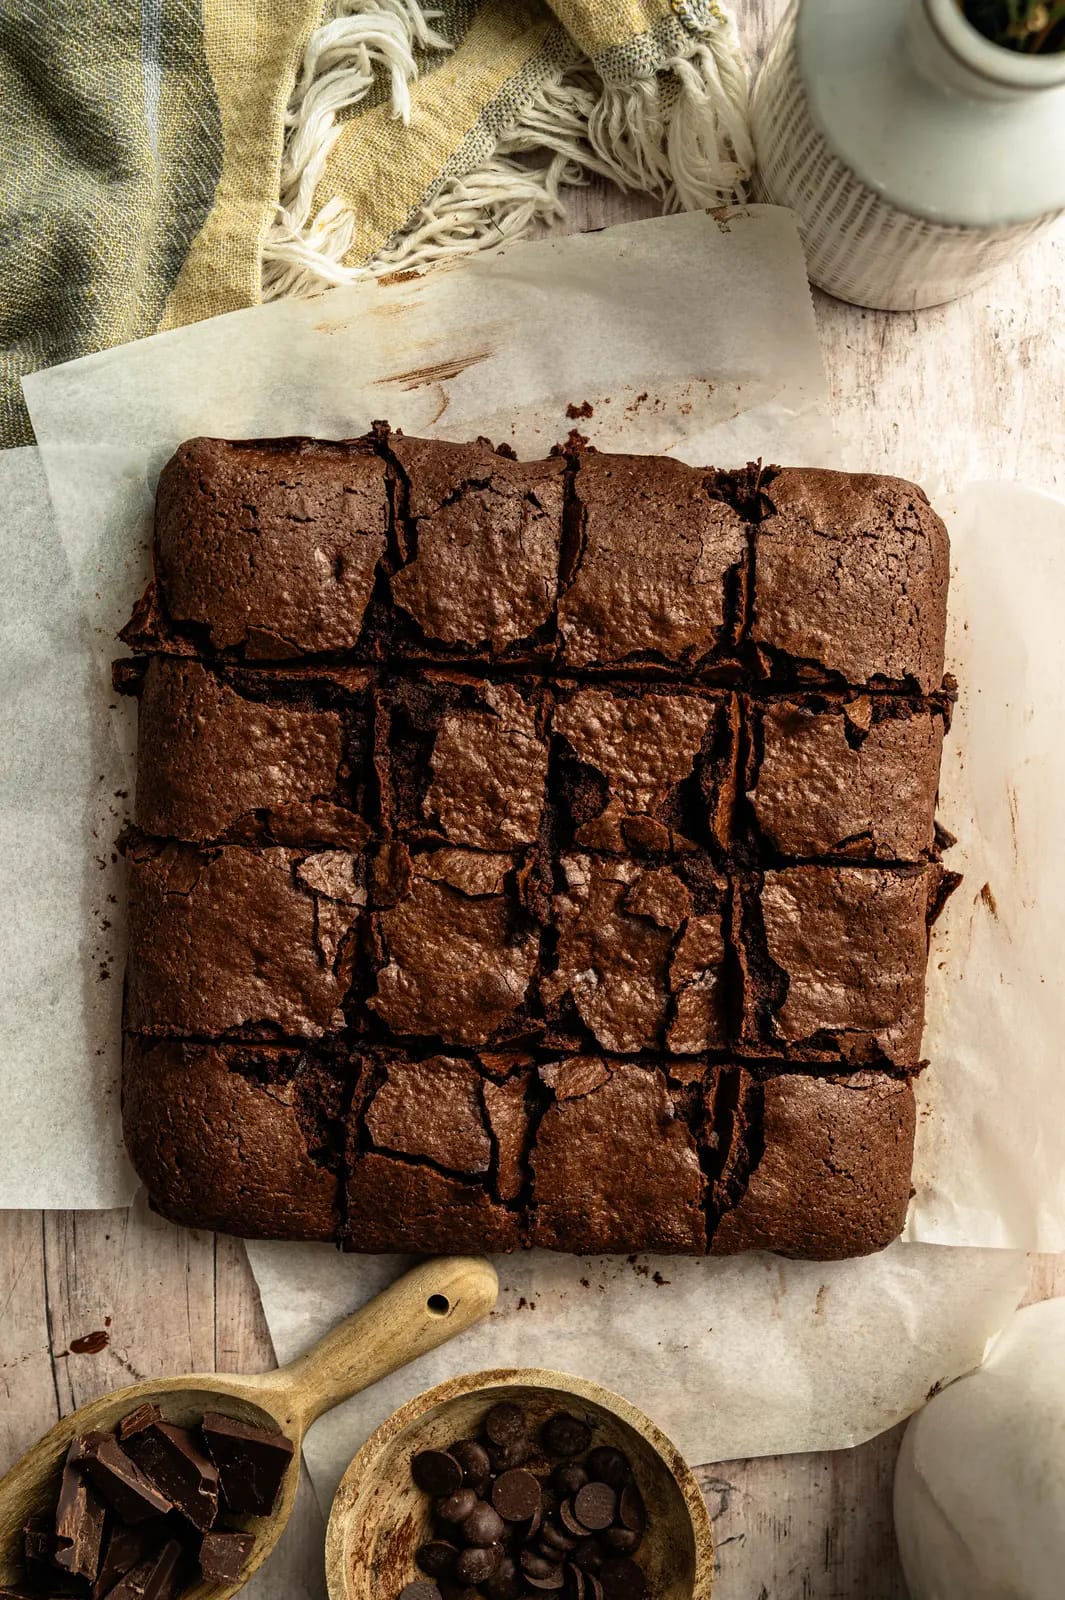
This recipe makes sixteen brownies in an 8-inch pan, with plenty of rich chocolate flavor and that fudgy, chewy texture that makes it hard to stop at just one.
- The best of both textures. The centers stay soft and fudgy while the edges bake up slightly firmer and chewy.
- Plenty of chocolate. Melted semisweet chocolate, Dutch-process cocoa, and chocolate chips or chunks layer chocolate flavor throughout every square.
- No mixer needed. A whisk and spatula are all you need to bring the batter together.
- Made for sharing. Cut them into squares for a family gathering, tuck a few away for later, or serve them warm with a scoop of ice cream.
Ingredients You’ll Need
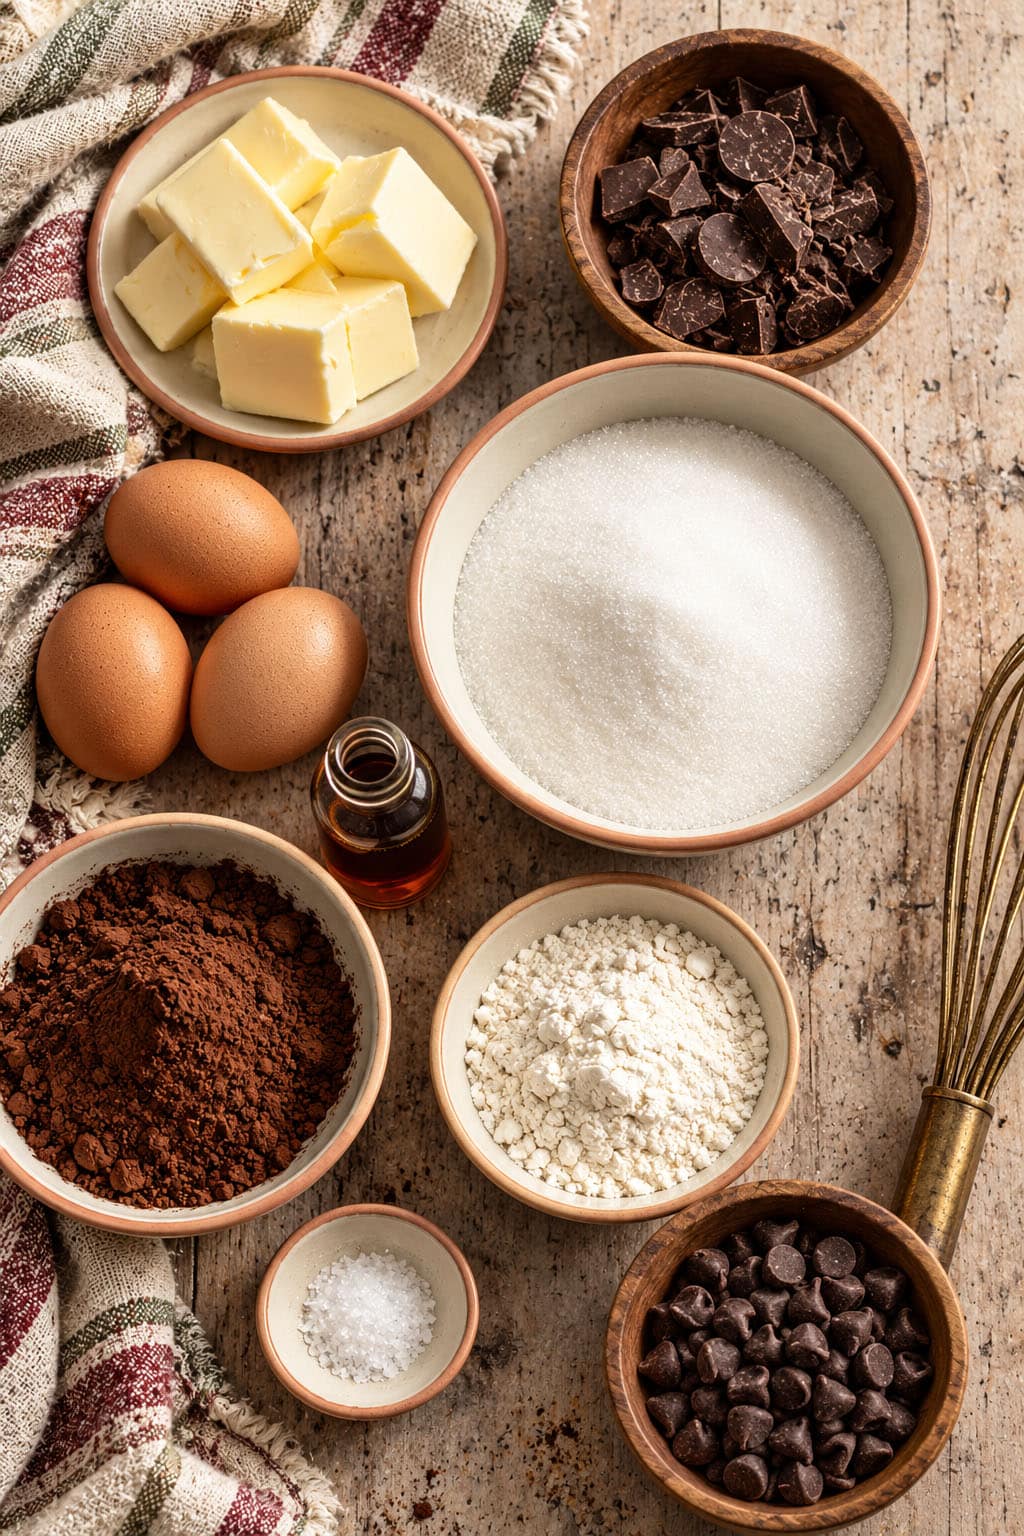
Unsalted Butter and Semisweet Chocolate
Butter and melted semisweet chocolate create the base for the brownies and help give the center its fudgy texture. Semisweet keeps the chocolate rich without making the brownies overly sweet. My guide to chocolate percentages explains how cocoa content changes the flavor and sweetness when baking.
Cane Sugar
Cane sugar adds sweetness while helping create the chewy texture and thin, crackly top.
Eggs and Vanilla
Bring the eggs to room temperature so they blend easily into the melted chocolate mixture. Vanilla rounds out the chocolate without competing with it.
Dutch-Process Cocoa
Dutch-process cocoa deepens the chocolate flavor and gives the brownies their dark color. If you’re curious about how it differs from natural cocoa, my Cocoa Powders Explained post breaks down the differences and when to use each one. Break up any lumps before adding the cocoa to the batter.
All-Purpose Flour and Sea Salt
There’s just enough flour to hold everything together while keeping the center soft and fudgy rather than cakey. Fine sea salt balances the sweetness.
Chocolate Chips or Chunks
Chocolate chips give you smaller pieces throughout the brownies, while chopped chocolate creates larger melted pockets. Both work, so this one comes down to the texture you enjoy.
Ingredient Philosophy
I choose organic ingredients whenever I can. I also read labels and look for products made with fewer, recognizable ingredients. Chocolate chips are a good example. I look for a simple ingredient list without a lot of unnecessary added ingredients.
For me, it’s really about being thoughtful about what I bring into my kitchen. I don’t expect every ingredient to be perfect, but when I have a choice between two similar products, I’ll usually reach for the one with the simpler ingredient list. Those small choices add up when they’re ingredients you cook and bake with all the time.
Keeping these basics on hand is also part of how I stock my pantry. Flour, cane sugar, cocoa, chocolate, vanilla, and sea salt are ingredients I use often, so when I want to bake a pan of brownies, most of what I need is already in the kitchen.
How to Make Fudgy Chewy Brownies
Prepare the Pan
Heat the oven to 350°F (175°C). Lightly grease an 8-inch square pan and line it with parchment paper, leaving enough overhang on two sides to lift the brownies out once they’ve cooled. This makes it much easier to get those nice, clean-cut squares.
Melt the Butter and Chocolate
Melt the butter and semisweet chocolate together over low heat, stirring until smooth. You can also do this in the microwave using short intervals, stirring well between each one so the chocolate doesn’t get too hot.
Whisk in Sugar and Eggs
Pour the warm chocolate mixture into a mixing bowl and whisk in the cane sugar for about a minute. Add the eggs one at a time, whisking well after each one, then stir in the vanilla.
Fold in the Dry Ingredients
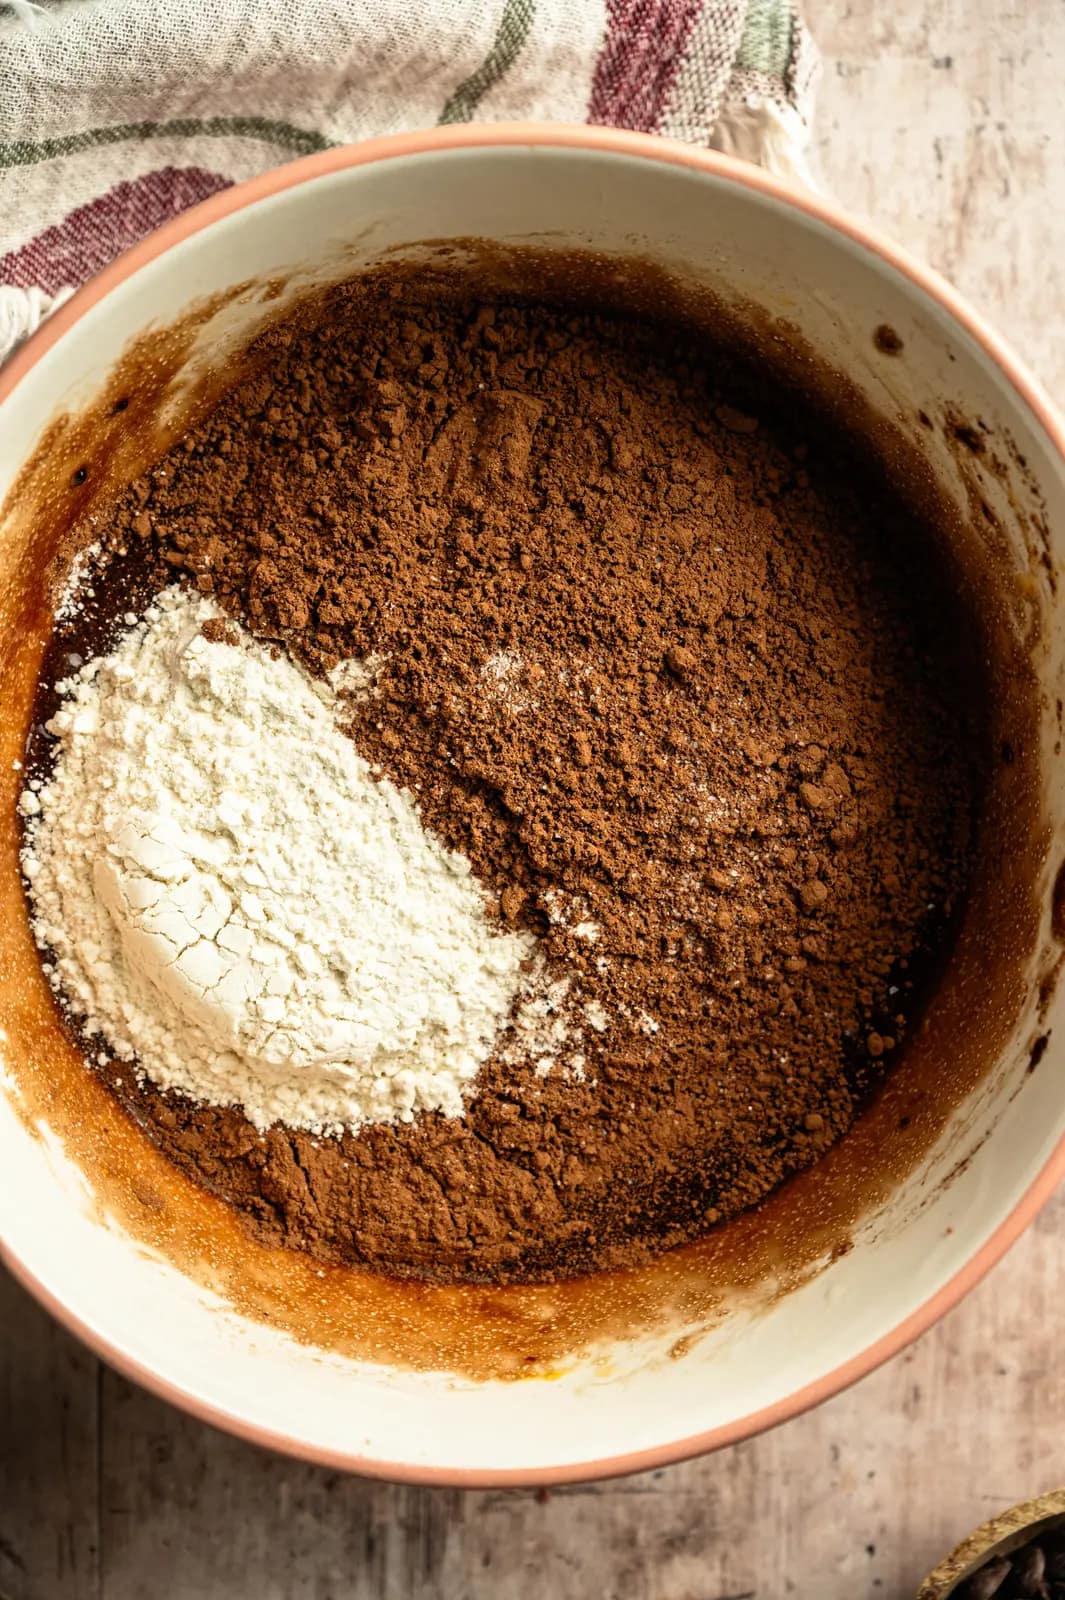
Sift in the cocoa, then add the flour and sea salt. Fold everything together with a spatula just until you no longer see any dry streaks. Don’t keep mixing once the flour is incorporated.
Add the Chocolate Pieces
Fold in the chocolate chips or chopped chocolate. Let the batter rest for 10 minutes, then spread it evenly into the prepared pan, making sure it reaches all the way into the corners.
Check for Doneness
Start checking the brownies at 20 minutes. The edges should be set and the center should no longer look wet. Insert a toothpick near the center. You’re looking for moist crumbs rather than a completely clean toothpick. If you happen to hit a pocket of melted chocolate, just check another spot.
Cool Completely
Let the brownies cool completely in the pan before using the parchment to lift them out. Cut into squares with a sharp knife, wiping the blade clean between cuts for neater edges.
My Weathered Tips
Gather everything first. A little mise en place makes these fudgy chewy brownies easier to prepare. Measure the ingredients, chop the chocolate, bring the eggs to room temperature, and line the pan before you begin.
Weigh the ingredients. For the most consistent results, I recommend weighing your baking ingredients rather than measuring by volume. It’s especially important with the flour in these brownies. Even a little too much can change the texture from fudgy to more cake-like. My Baking by Weight post explains why a kitchen scale is one of the most-used baking tools especially in my kitchen.
Check more than one spot. If your toothpick comes out covered in chocolate, you may have landed right in one of those melted chocolate pockets. Check another spot before putting the brownies back in the oven.
Let them cool before cutting. For clean, even squares, let the brownies cool completely in the pan before lifting them out and cutting. A sharp knife wiped clean between cuts will give you the nicest edges.

Fudgy Chewy Brownies
Deeply chocolatey with a dense, fudgy center and satisfyingly chewy edges, these homemade brownies combine melted semisweet chocolate, Dutch-process cocoa, and chocolate chips for rich flavor in every bite. A short batter rest helps the ingredients settle before baking.
- Total Time45 to 55 minutes, plus cooling
- Yield16 brownies 1x
Ingredients
Wet Ingredients
- 113 g unsalted butter
- 50 g semisweet chocolate wafers, chopped
- 275 g granulated sugar
- 3 large eggs, room temperature
- 2 tsp pure vanilla extract
Dry Ingredients
- 60 g Dutch-process cocoa powder
- 75 g all-purpose flour
- 1/2 tsp fine sea salt
Mix-Ins
- 56 g semisweet chocolate chips or chopped chocolate
Instructions
- Preheat the oven. Preheat the oven to 350°F (175°C). Lightly grease an 8 x 8-inch baking pan and line it with parchment paper, leaving an overhang on two sides for easy removal.
- Melt the butter and chocolate. Combine the butter and chopped semisweet chocolate in a small saucepan over low heat. Stir until smooth.
- Mix the wet ingredients. Pour the warm chocolate mixture into a large bowl. Add the sugar and whisk vigorously for about 1 minute. Add the eggs one at a time, whisking well after each addition. Whisk in the vanilla until the batter looks smooth and glossy.
- Add the dry ingredients. Sift the cocoa powder over the bowl, then add the flour and salt. Fold gently with a spatula just until no dry streaks remain. Do not overmix.
- Fold in the chocolate chips or chopped chocolate until evenly distributed.
- Rest the batter. Let the finished batter stand at room temperature for 10 minutes.
- Fill the pan. Spread the batter evenly in the prepared pan, smoothing the top and pushing it into the corners.
- Bake for 20 to 30 minutes. Begin checking at 20 minutes. The brownies are ready when the edges look set and a toothpick inserted near the center comes out with several moist crumbs but no wet batter. The center should be just set and may look slightly softer than the edges.
- Let the brownies cool completely in the pan before using the parchment to lift them out. For the cleanest squares, use a sharp knife and wipe the blade clean between cuts.
- Optional to add chopped walnuts
Notes
Pan: An 8-inch light-colored metal pan works best for these brownies. A different size will change the thickness of the brownies and may change the baking time.
Doneness: Look for set edges and a center that no longer looks wet. A toothpick inserted near the center should come out with moist crumbs. If you hit melted chocolate, check another spot.
For clean cuts: Let the brownies cool completely before lifting them from the pan. Use a sharp knife and wipe the blade clean between cuts.
Serving warm: If you like your brownies warm, heat an individual square for just a few seconds before serving. A scoop of vanilla ice cream on top never hurts.
Storage: Let the brownies cool completely before putting them in an airtight container. Keep at room temperature for up to four days, with parchment between layers.
Freezing: Wrap individual squares or the whole slab tightly and freeze for up to three months. Thaw at room temperature, then warm slightly if you like.
- Prep Time: 15 minutes
- Cook Time: 20 to 30 minutes
From Pantry to Table
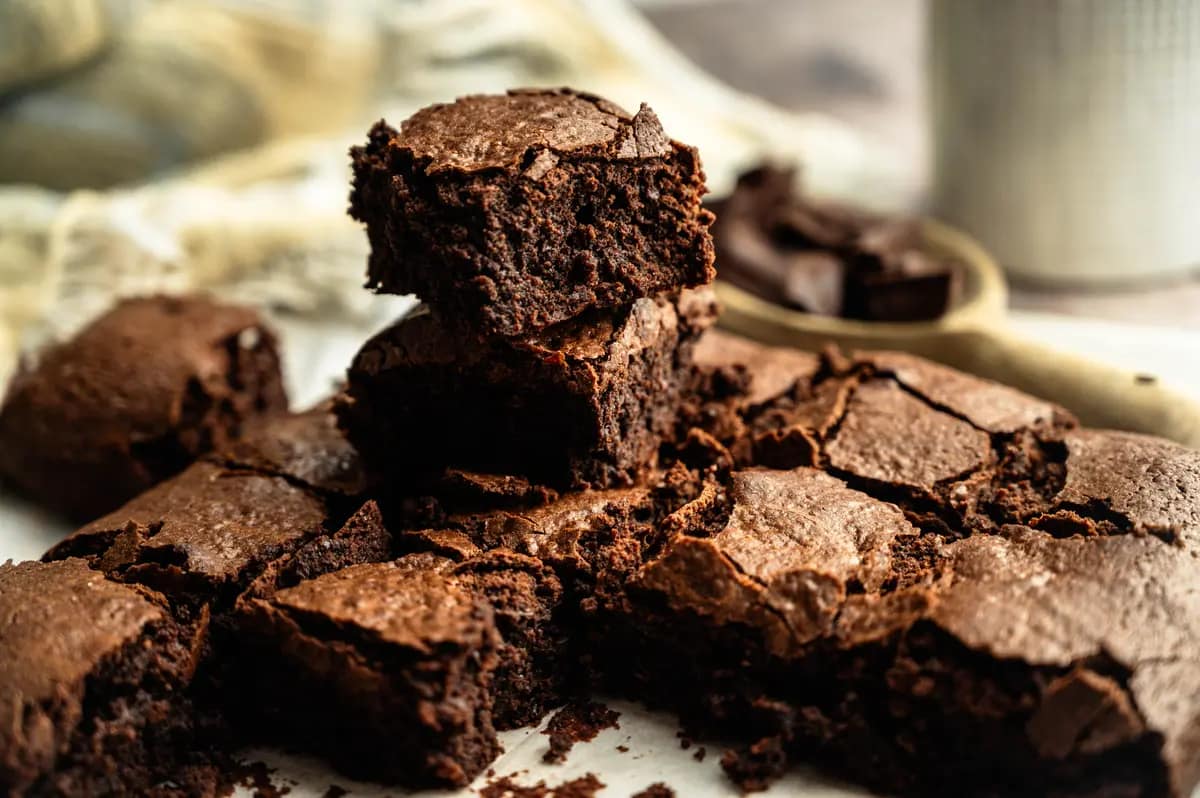
Brownies don’t need much once they’re out of the pan. Serve them at room temperature when you want that fudgy, chewy texture, or warm a square just enough to soften the chocolate inside. Add a scoop of vanilla ice cream or a spoonful of lightly whipped cream if you want to make them a little more special.
For a family gathering, I like the idea of cutting them into smaller squares and putting them out with a few other sweets and some fresh fruit. My Brown Butter Chocolate Chunk Cookies are an easy addition to the plate. Everyone can grab what they want, and there’s usually someone who comes back for another brownie.
Variations
Espresso brownies. Add a little instant espresso powder with the cocoa. It deepens the chocolate flavor and adds just a hint of coffee.
Nutty brownies. Fold toasted chopped walnuts or pecans into the batter along with the chocolate pieces. Either one adds a little crunch without changing the brownie itself too much.
Tahini swirl brownies. Spoon small amounts of tahini over the batter and gently swirl it through with a knife. Don’t mix it all the way in. You want to keep some of those ribbons running through the top.
Salted brownies. Sprinkle a little flaky sea salt over the top after baking. You only need a small amount to get that sweet and salty contrast.
Frequently Asked Questions
How Do I Know When Brownies Are Done?
Look at the edges first. They should be set, while the center should no longer look wet. A toothpick inserted near the center should come out with moist crumbs, not wet batter. If you hit a melted chocolate chip, check another spot.
Why Do the Brownies Need to Cool Completely?
The center continues to set as the brownies cool. If you cut them too soon, they can stick to the knife and you won’t get those clean squares.
Can I Use Natural Cocoa Instead of Dutch Cocoa?
For this recipe, stick with Dutch-process cocoa. Natural cocoa has a different acidity, flavor, and color, so the brownies won’t turn out quite the same.
Can I Double the Recipe?
Yes, but you’ll need a larger pan that keeps the batter close to the same depth. The baking time may also change, so watch the brownies and use the doneness cues rather than relying only on the clock.
Why Are My Brownies Cakey?
Too much flour or too much time in the oven can give you a drier, more cake-like brownie. Even a little too much can change the texture, which is why I recommend weighing it for this recipe. Overbaking can also dry out the center, so start checking the brownies at 20 minutes.
Around My Table
Brownies have been part of my family for as long as I can remember. My mom made them when I was growing up, they showed up at family gatherings, and now they’re something I still love to bake in my own kitchen. I think that’s one of the things I love most about family recipes. They don’t have to be elaborate to become part of your story.
These are the kinds of desserts I enjoy making most. Nothing overly complicated, just a good recipe I can pull out when I feel like baking or when I need something to bring along to a gathering. And yes, I’m still taking that middle piece before anyone else gets to it.
Need a little inspiration for what to make next? Take a peek through my Recipe Box and find something yummy to share around your table.

return to recipe box
Questions about a recipe or technique?
I’m always happy to help. Feel free to reach out if you need guidance, substitutions, or a little extra help in the kitchen.
Pull up a Chair...
return to pantry foundations
return to recipe box
[email protected]
Questions about a recipe or technique?
I’m always happy to help. Feel free to reach out if you need guidance, substitutions, or a little extra help in the kitchen.
Lisa Marie
Leave a Reply